
ORE Cup Holder Kit Assembly

This blog will show you how to assemble the cup holder kit and setup the cup holder for both right and left hand drive cars. The kit is shipped un-assembled to prevent damage to the linear bearings and so that it can be setup by the customer based on which side the driver is on.
First Step:
Find the mounting plate, rubber bumpers and the M3 x 6mm screws. These screws are the smallest screws in the parts bag. These screws are used to hold the rubber bumpers to the mounting plate. For Left Hand Drive cars you should put the long thin extension portion of the bracket towards the right as shown below. This extension bit is to hold the OBD2 port since the cup holder uses the OBD2 screw holes just like the factory Lotus cup holder does.

LHD Configuration
For Right Hand Drive cars the bracket should be flipped over as shown below.

RHD Configuration
The next step is to attach the linear rail that allows the cup holder to slide out of the way when not in use. The linear rail comes pre-assembled with the linear bearings and the rubber stoppers. The linear rail is symmetrical so it doesn't matter which end is which. From here on out I will be assembling the cup holder for a LHD cars.
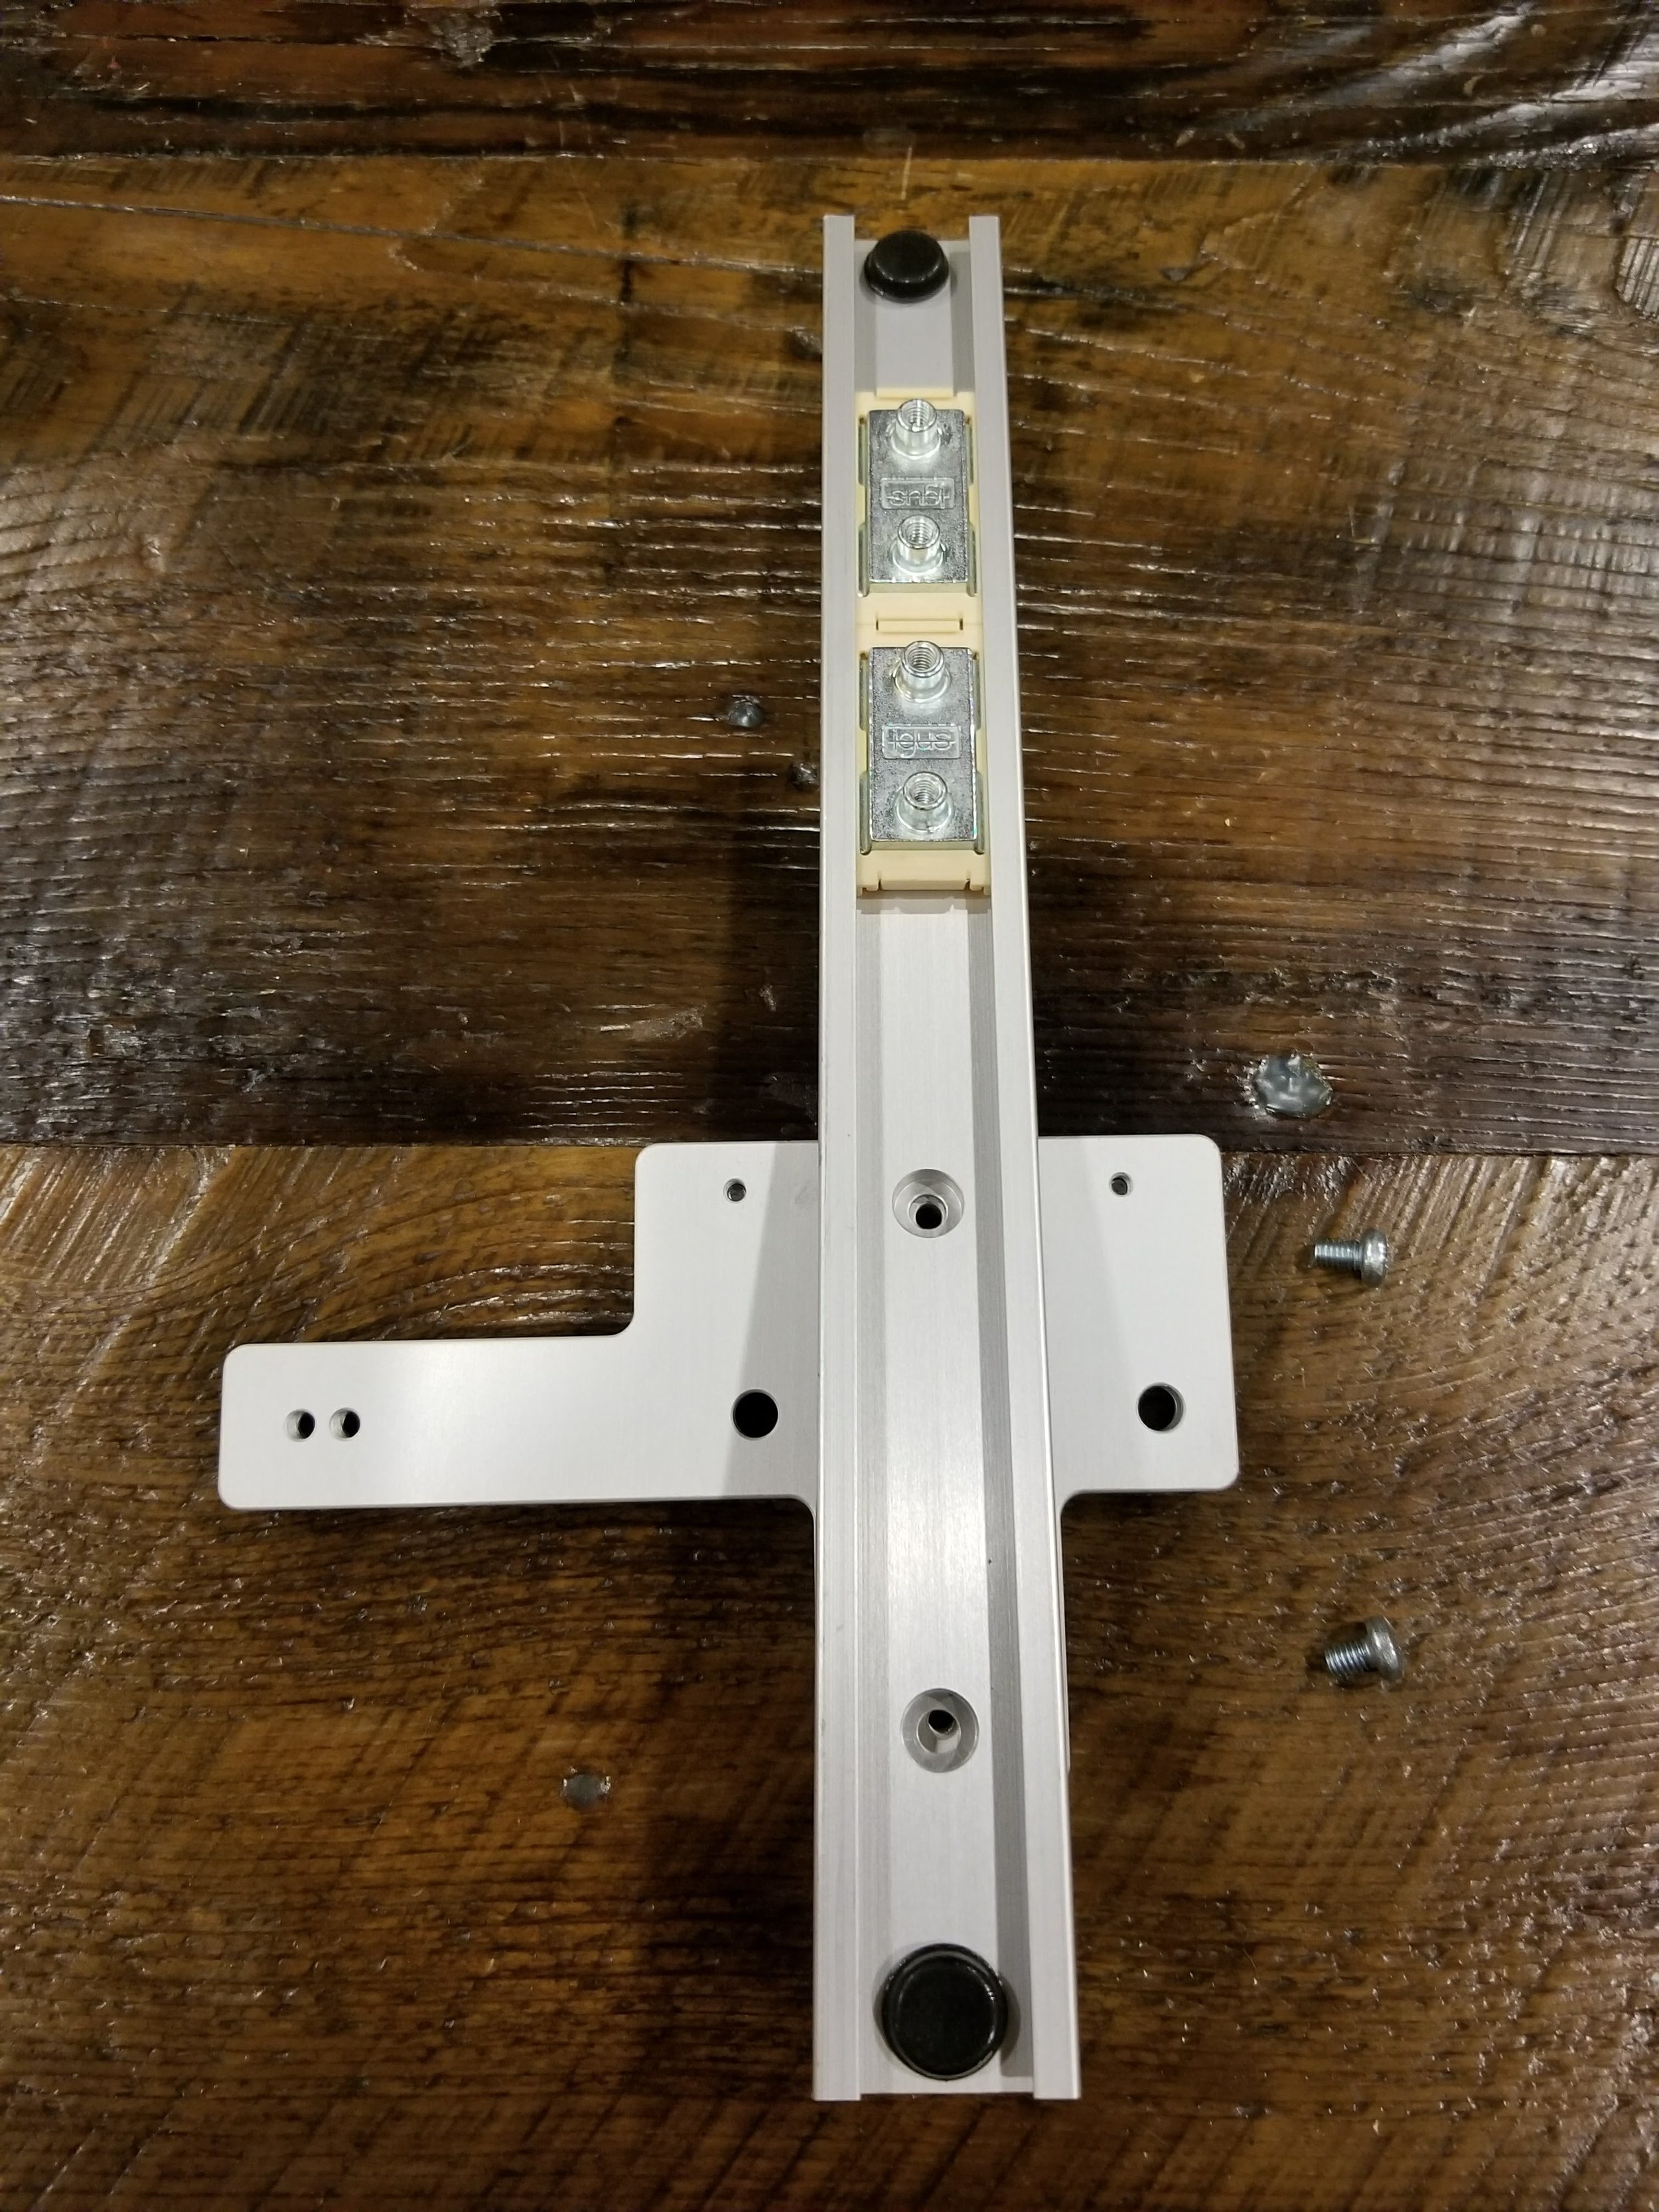
Shown below is the linear rail sitting on top of the mounting plate and the two short M4 screw that mount it. The black bumpers that were attached in the previous step are down towards the work surface. The bracket is screwed into the linear rail on the first two holes.

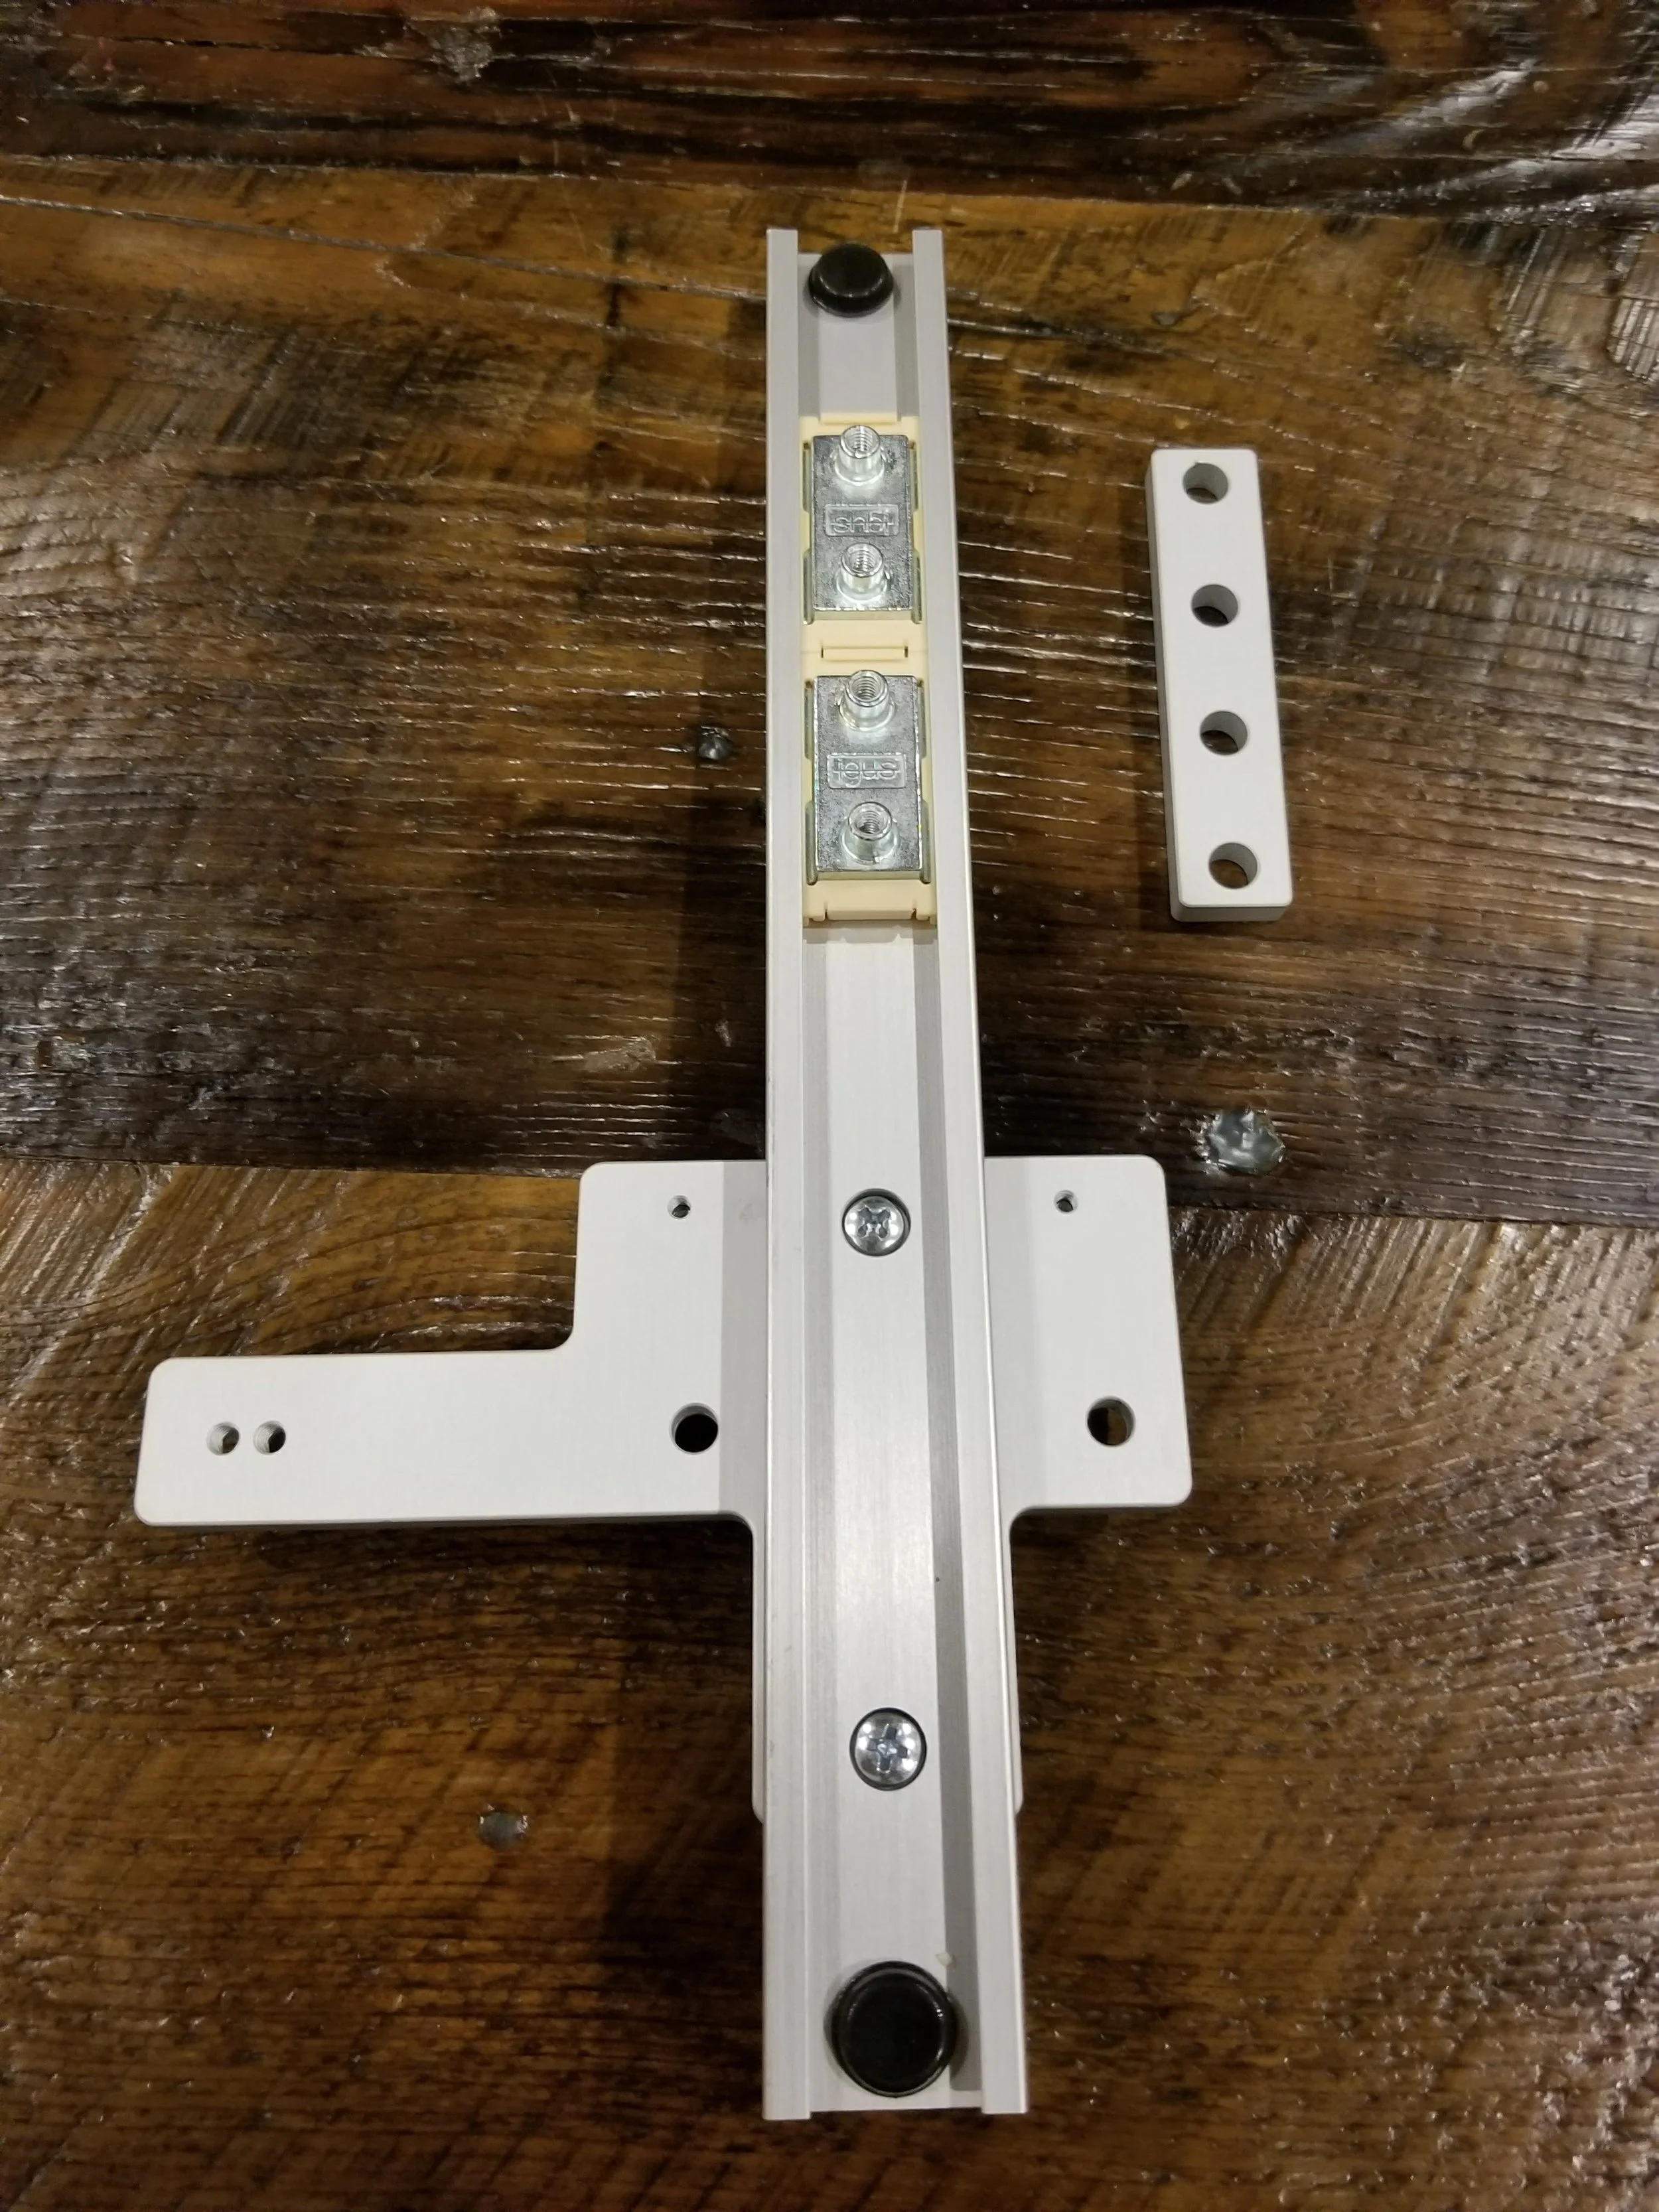
Now it is time to put on the bearing spacer. This gives room for the cup holder itself to slide without hitting the linear rail assembly and OBD2 Port. Make sure the two linear bearings are touching and slide the spacer over the 4 posts on the bearings.

Now it is time to install the machined cup holder rings themselves. Notice the orientation of the rings. The offset ring goes towards the same side as the OBD2 mount on the bracket. The images below are for LHD cars, for RHD you would flip the rings over. There are 4 long M4 screws that are used to attach the cup holder to the linear rail assembly.


Below are the 3 remaining conventional screws. The two M5 screws are for attaching the main base plate to the OBD2 mount. The single pain head screw is for attaching the OBD2 plug onto the bracket. The OBD2 plug also shares one of the M5 mounting screws. There are two tapped holes for the pan head screw and this allows a better fit for the two slightly different OBD2 plugs that Lotus used on various models.

The last portion of the process is attaching the strap to the cup holder rings. There are six sets of aluminum binding posts, each has a male and female portion. These are used to attach through the cup holder strap holes and hold the strap onto the rings. First start by folding the strap in half and draping it over the center divider. Remember that the cup holder mounts with the mounting plate up so the strap must drape down. Align the two center sets of holes.


Next attach the strap to the rings using the threaded binding posts. These will clamp the strap together. The posts are easy to screw together and can be done by hand. If you wish to make sure they are tight you can use a screw driver to snug them up but this is not usually necessary.

Repeat this same process for the outer loops. These loops wrap around from the outside and through the slot. See below for how the ends of the straps are secured.

