ORE Elise Side Scoop Bracket Installation
Here is where you can find the instructions on how to install the ORE Side Scoop brackets on your Lotus Elise.
First you are going to want to put the rear of the car up on jack stands and remove both rear wheels. You can do one side at a time depending on what jacks and jack stands you have available.
Here is a picture of what you will see. We took the time to clean some tar that unfortunately got on our car when we got stuck going through a construction zone.

You now want to remove the inner fender. This is done by removing two plastic clips at the front of the inner fender, on plastic clip on the rear subframe and three more clips that attach the inner fender to the rear clam.
Next we will be removing the factory side grills where the scoops will end up going. Below is a picture looking from inside the rear wheel well looking towards the front of the car.
Here you can see the two bolts that hold the grill in place. Once both of these bolts are removed the side grill can be carefully slid back under the clam and out through the rear wheel well. Pictured above is the drivers (left) side of the car. You can see the intake tube on the right side of the photo. This tube makes getting the grill out a bit tricky but it can be done without removing any other parts.
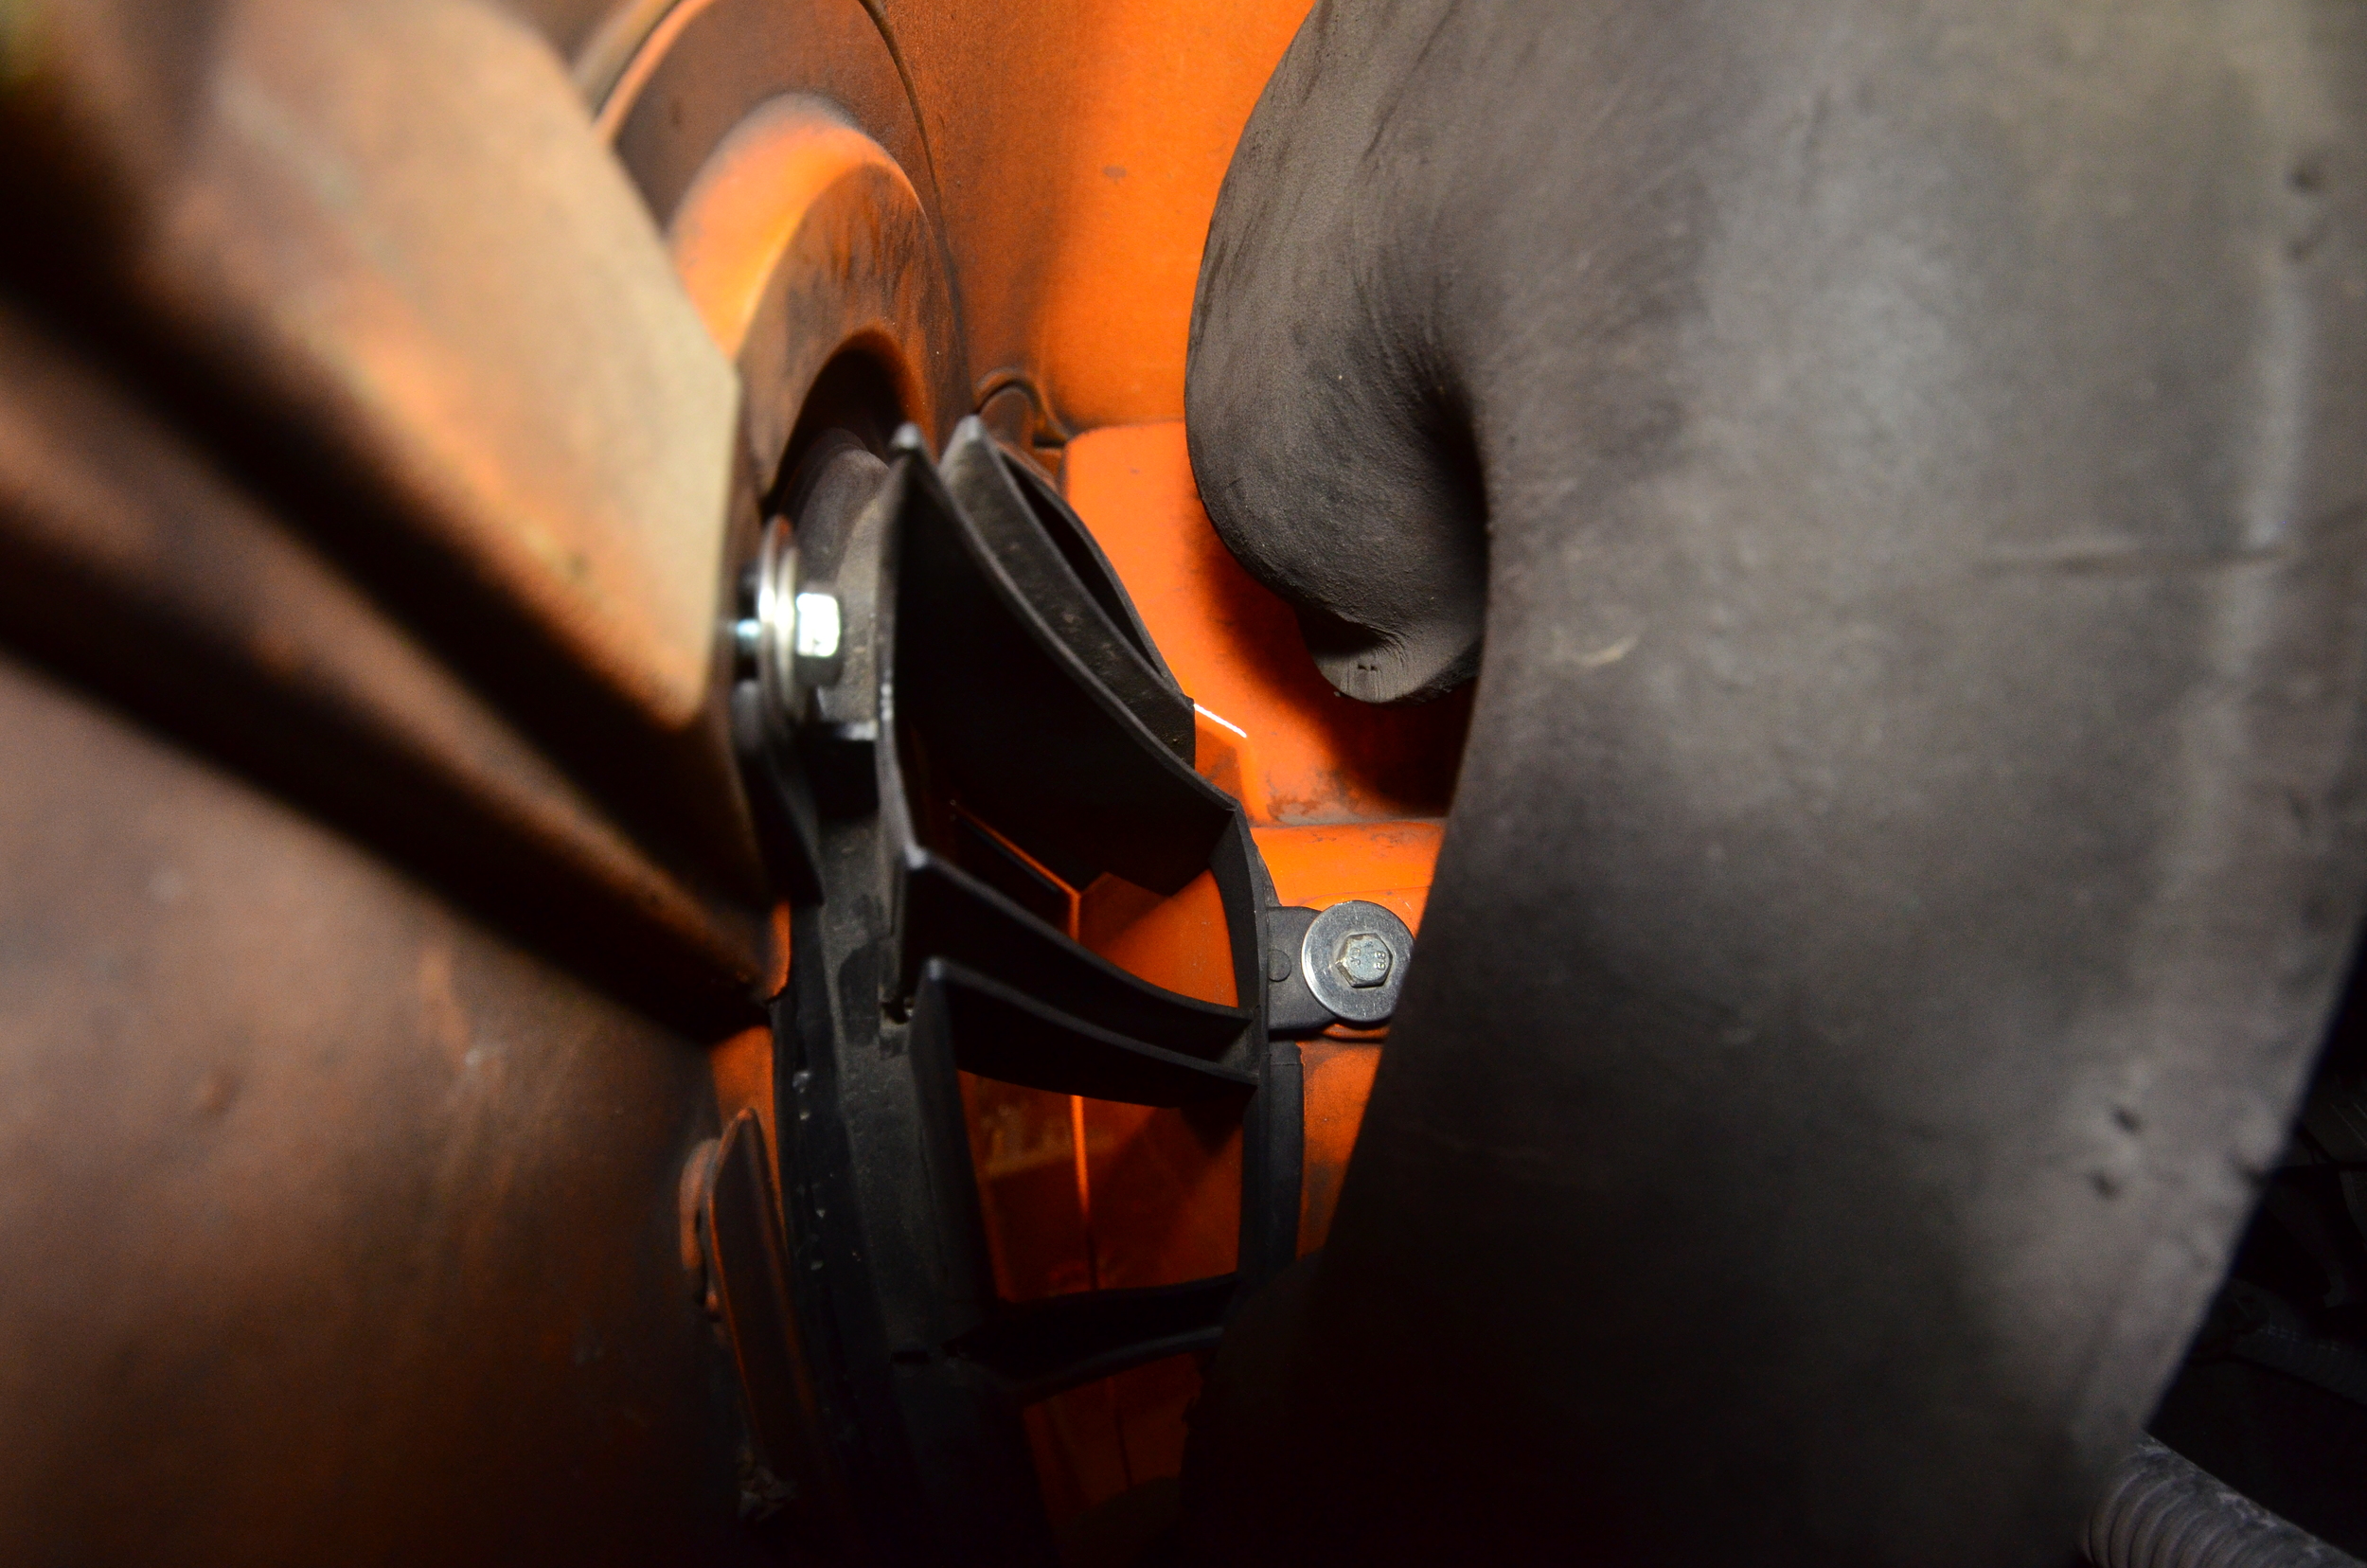
Now we will install the first bracket that mounts the upper rear bolt on the scoop. The bracket uses the same factory bolts that you already removed from the factory grill. Make the bolts snug at this point but not tight. The bracket will need to be aligned to the scoop later.

Notice the orientation of the bracket. The brackets are left and right specific. The tab where the scoop mounts points up. At this point you can go ahead and clip on one of the M5 clip nuts included in the kit. Below is another picture of the bracket from the outside of the car. Again notice the orientation.

Next we will move onto the bracket that is used to mount the upper front hole of the scoop. In the upper left hand area of the photo above you can see a somewhat rectangular cutout in the factory fiberglass panel. We will be using this hole to mount the bracket. Here is another photo of the existing hole.

Now we are going to start assembling the bracket for the upper front mount off of the car. Below you will see two photos of either side of the bracket. Again this is for the left hand side of the car. For the right hand side you will have to assemble a mirror image of the bracket.

Notice the orientation on the thinner part of the bracket. The smaller of the two tabs goes against the mounting plate, also if you look at the center section of the bracket the shorter edge will face towards the front of the car and the bent part of the mounting plate. Use the supplied M6 bolt and put it through the two parts. Below is the same bracket shown from the other side.

Thread the M6 clip nut and anti rotation tab onto the M6 bolt. Only thread the clip nut on so that the bolt is flush with the back of the clip nut. Everything should be loose for now. The bracket is currently being held in the same orientation as it mounts in the car. Aslo if you look at the anti rotation tab direction this will help you insert the assembly into the factory hole. Slide the anti rotation tab into the rectangular hole that was shown before. Be very careful not to unthread the clip nut and anti rotation tab off of the bolt while it is in the hole. The parts may not be retrievable if they are lost down in the body panels (We aren't about to find out either way!). Below are two pictures of the parts installed. Again make the bolt snug and not tight, you will need to align the location of the bracket. There is a loose fitting hole in the mounting plate for the bracket, this will allow you to slightly adjust the bracket mounting location as well as rotate it.


The last lower mount is not permanently mounted to the car but still holds the scoop in its proper location. Here is a picture of the mount being held in place to show how it will sit with the scoop installed.

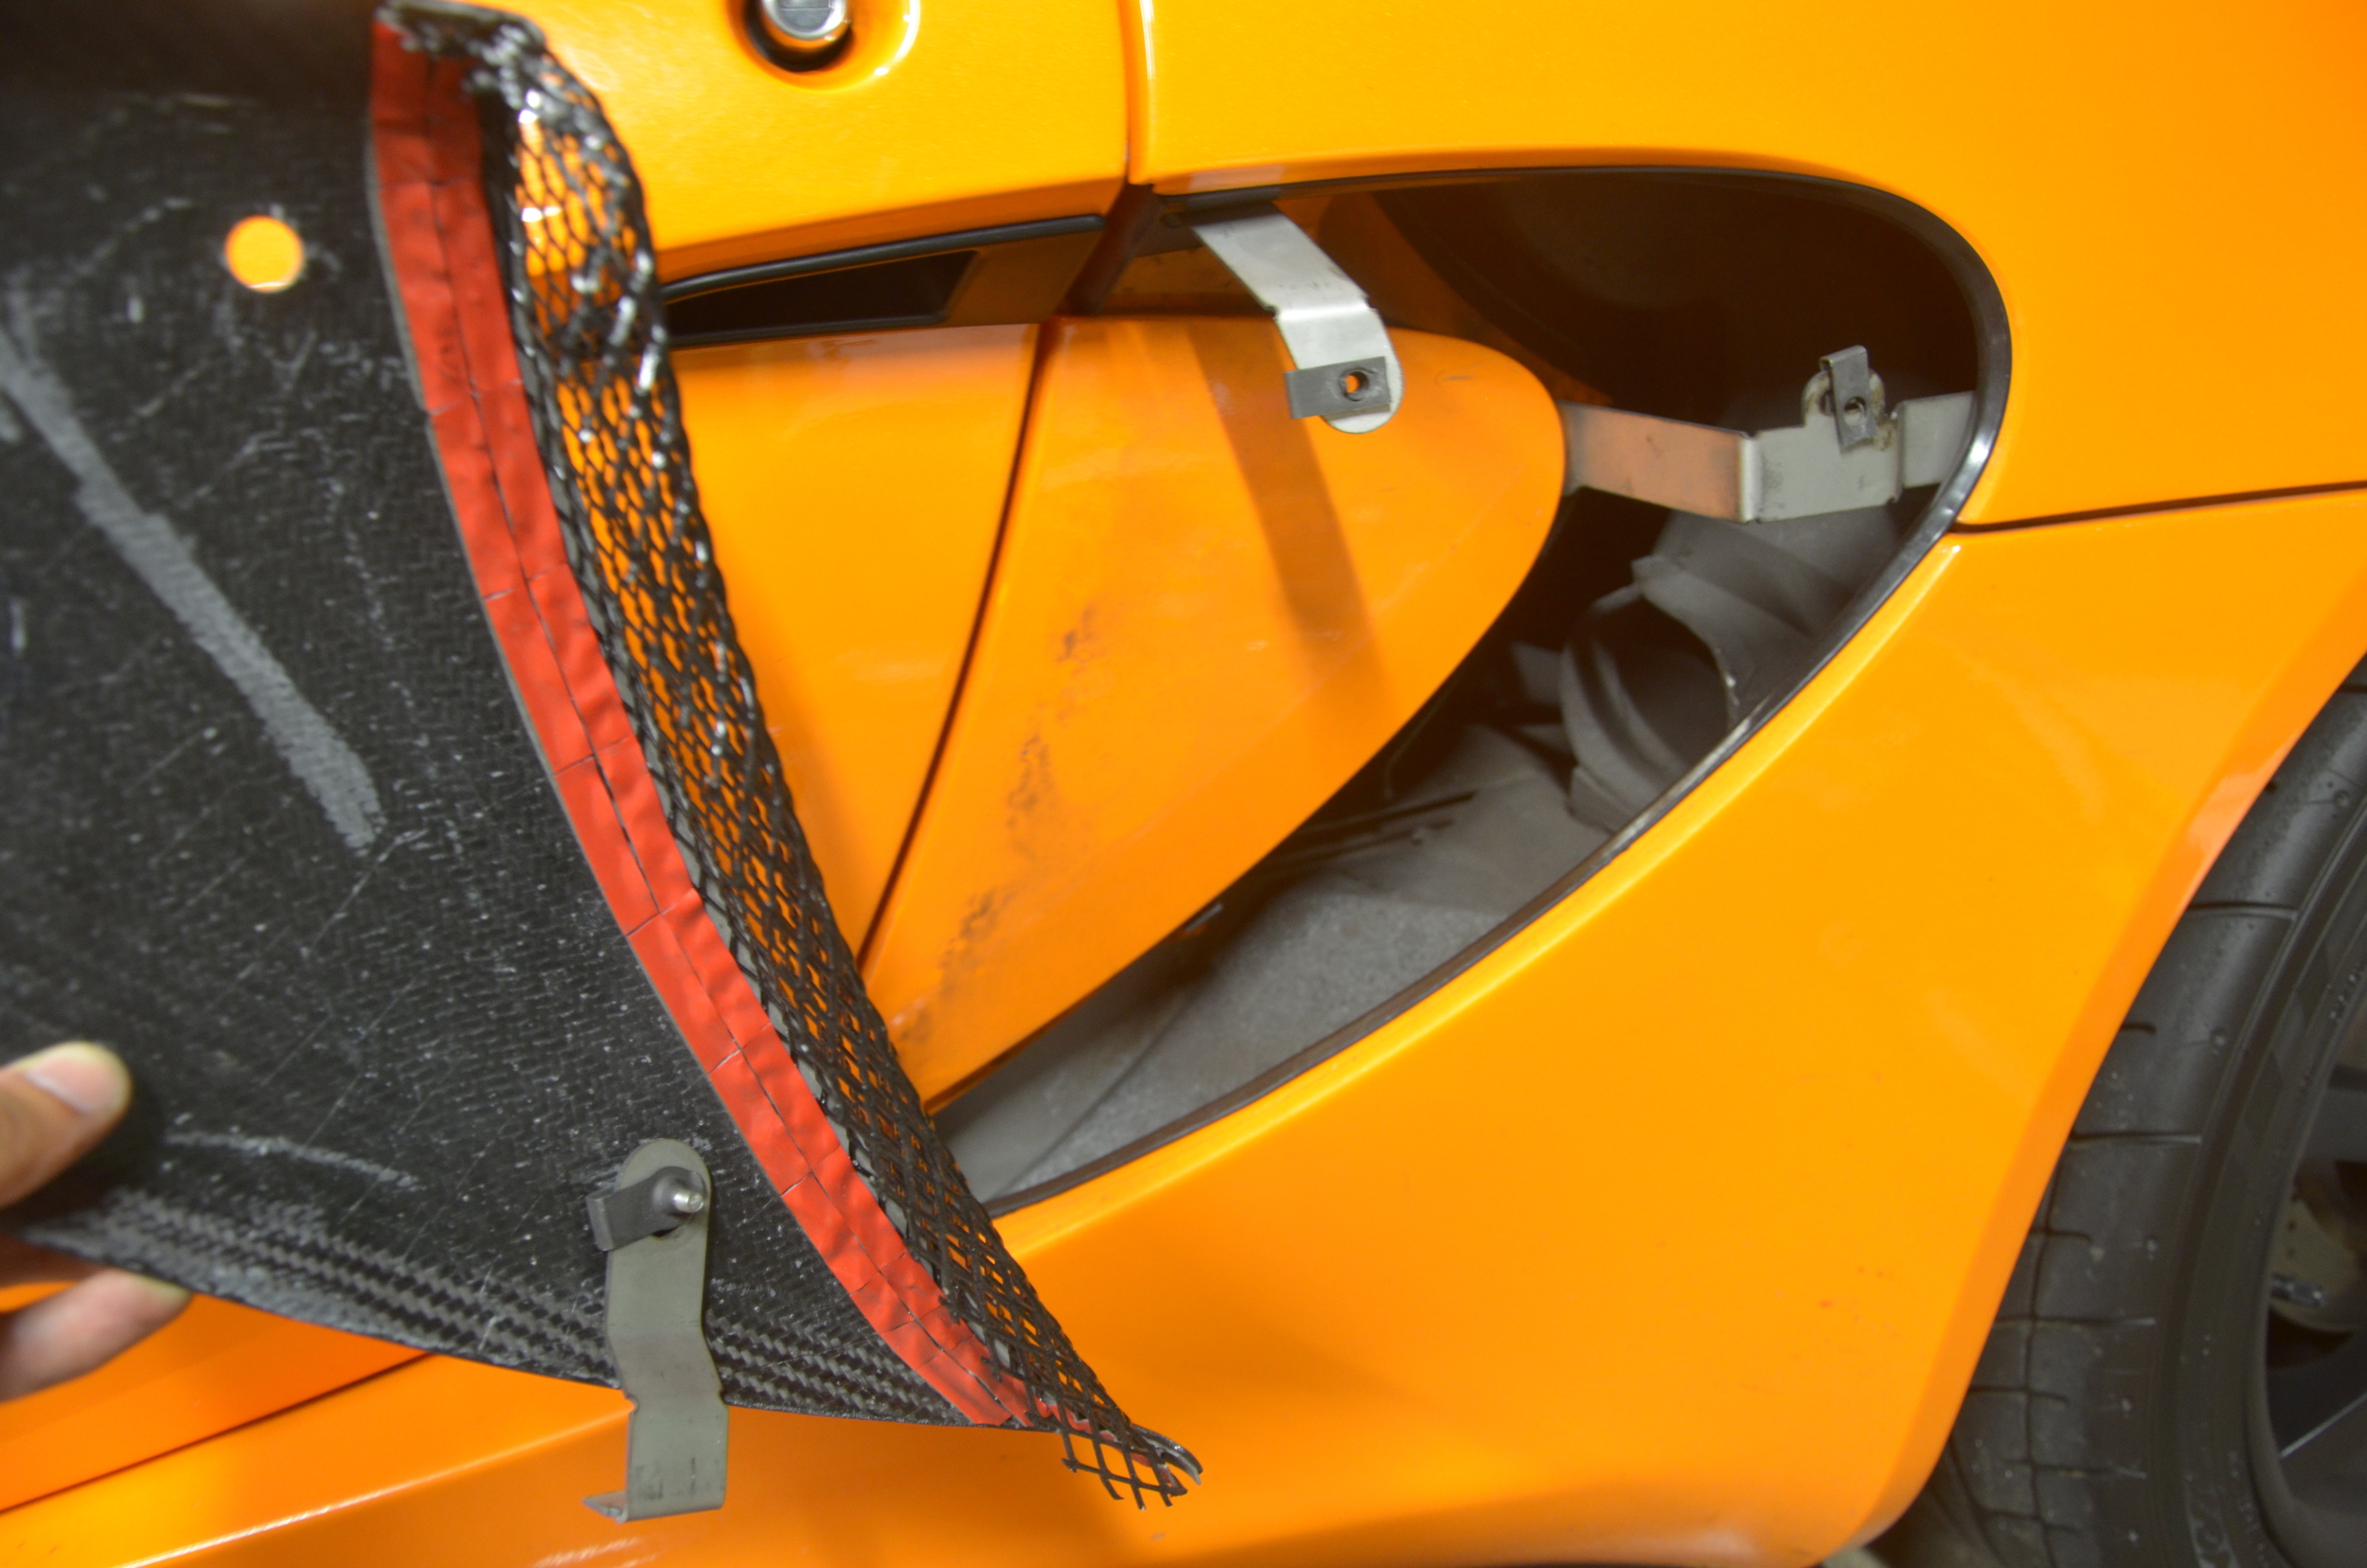
To complete the install go ahead and screw the lower mount to the side scoop lower hole. Use the stainless steel M5 button head allen screws along with the custom stainless steel button washer supplied in the kit. These take a 3mm allen wrench. Keep this bolt loose the the mount can be hooked onto the edge of the body before the screw is tightened. Go ahead and test fit the scoop, you will need to adjust the two previously installed mounts to align with the scoop holes. The brackets themselves may need to be bent slightly by hand to achieve a perfect fit. On some of the scoops the upper front bracket can come in contact with the top of the mesh where the mesh is folded over. The mesh may need to be bent or trimmed a bit but this will not be visible once the scoop is installed. Here is a picture of the lower mount installed and the scoop ready to be installed.
Once all the brackets are properly aligned you can remove the scoop and tighten the two bolts on the rear bracket and the one bolt on the front upper bracket. Keep the lower bracket bolt loose until the scoop is installed for the final time. Here are a few more pictures of an installed scoop.